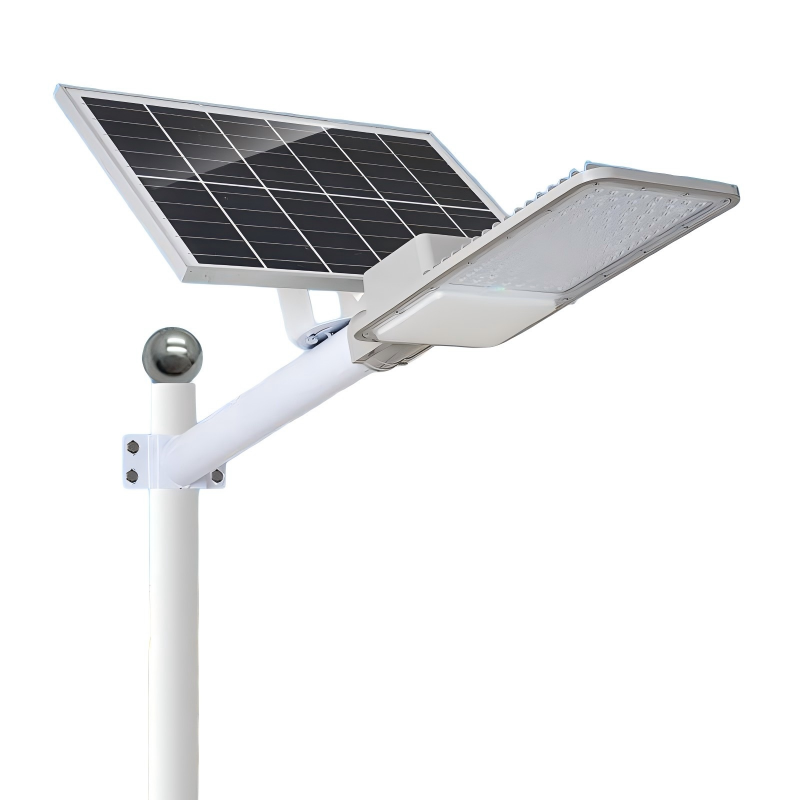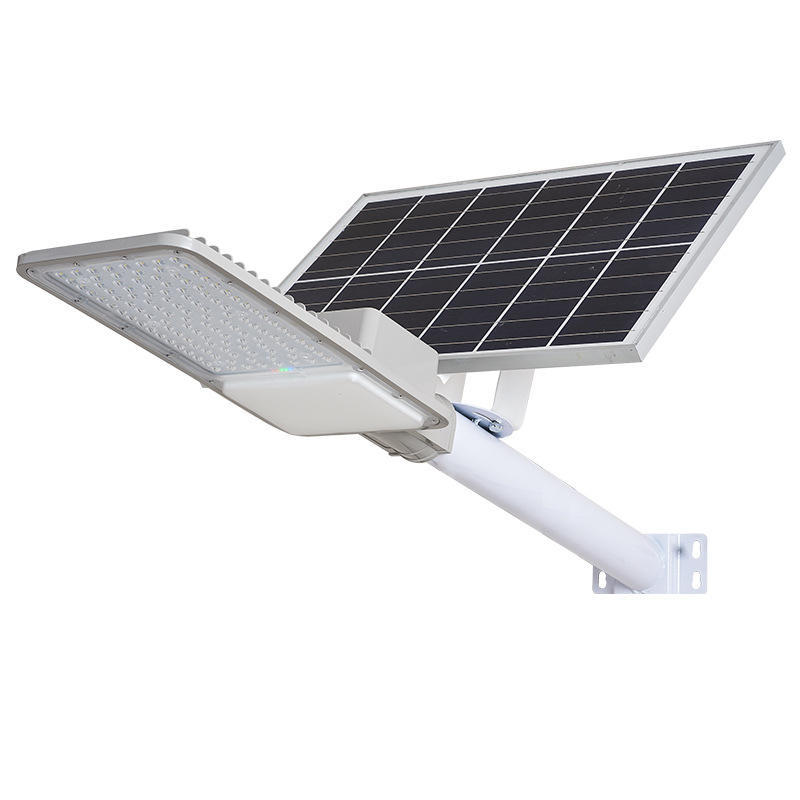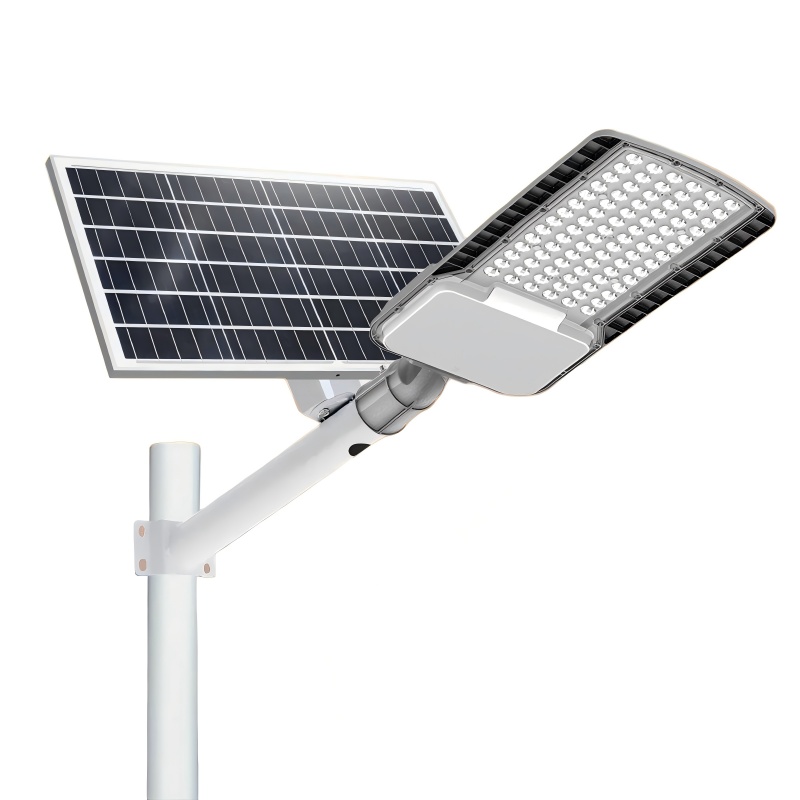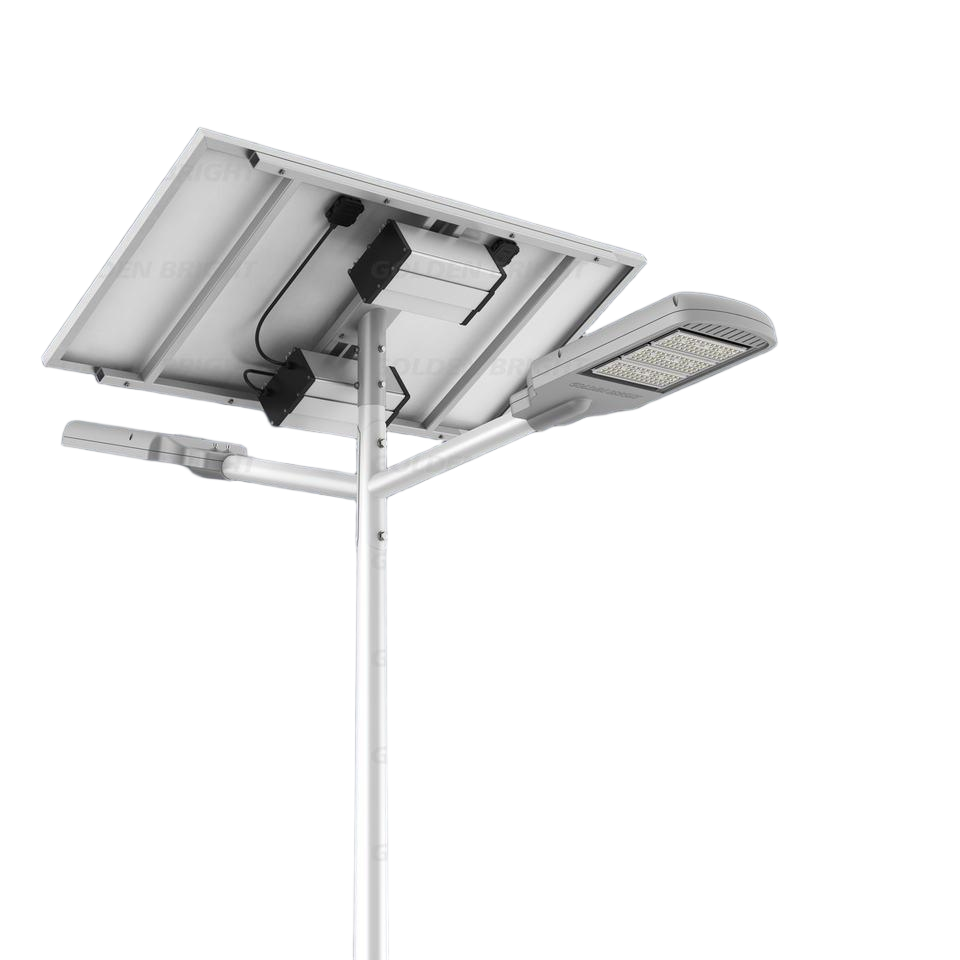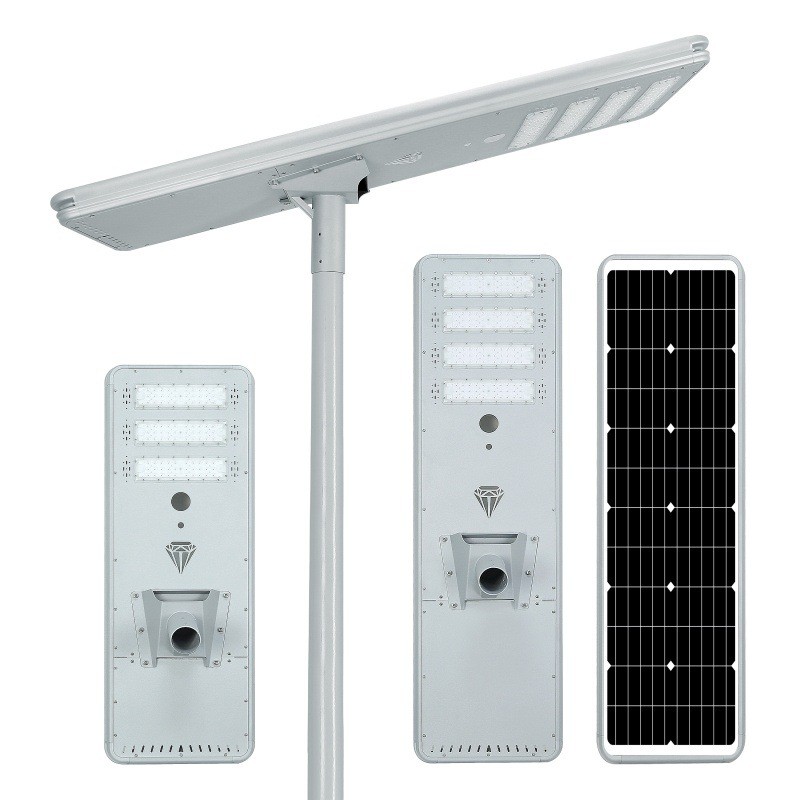
WG series split solar street light adopts integral ADC12 die-cast aluminum lamp body, featuring separated adjustable solar panel and built-in LiFePO4 battery design. Equipped with industrial MPPT intelligent controller and high-lumen SMD LED chips, the lamp reaches IP65 waterproof rating to cope with rainy, dusty and coastal salt-fog environments. Available in multiple power specifications from 30W to 200W, WG model supports pole mounting and wall mounting, widely used in municipal roads, countryside renovation, parking lots and park lighting projects, with 5-year full set warranty and customizable OEM service.
Applications:
Certified Quality for Global Projects

WG Series Die-Cast Aluminum Split Solar Street Light IP65 Outdoor Road Lamp
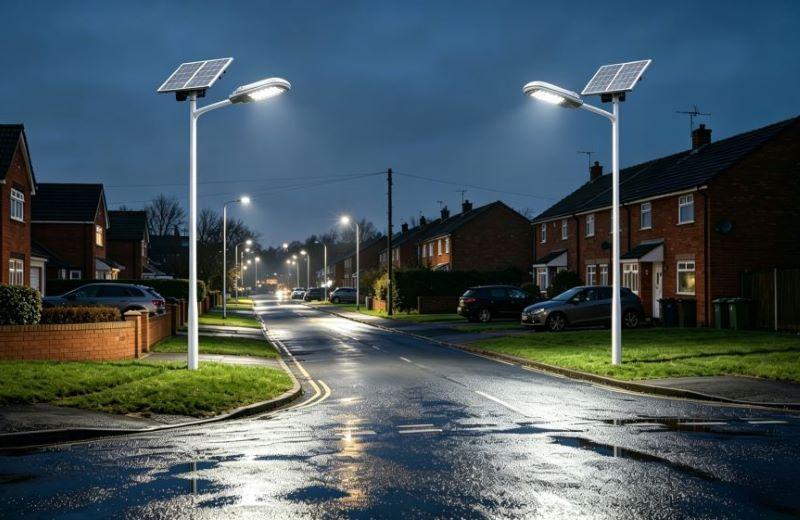
High-Lumen Outdoor Lighting for Projects

Superior Luminous Efficacy
Boasting superior luminous efficacy, the Sirius Series is equipped with premium Bridgelux/Philips LED chips, delivering an impressive light output of up to 200lm/W. This exceptional efficiency guarantees maximum brightness while minimizing energy consumption, effectively reducing the overall energy demands of the system.
Intelligent Power Management
Our proprietary MPPT (Maximum Power Point Tracking) Controller increases charging efficiency by 30% compared to traditional PWM controllers. Combined with a smart PIR motion sensor, the system ensures stable lighting for 3-5 continuous rainy days.
Harsh Environment Adaptation
Protection grade up to IP66 and impact resistance grade IK09, using aviation-grade die-cast galvanized iron shell with anti-corrosion coating, which can resist harsh weather such as typhoons (wind resistance >120km/h), heavy rain, and desert dust, suitable for coastal, plateau and other scenarios.
Long Lifespan & Easy Maintenance
Using Grade A LiFePO4 batteries with more than 2000 deep charge-discharge cycles, the actual service life is 5-8 years, far exceeding lead-acid batteries; the detachable battery case design facilitates regular inspection and maintenance of the battery, extending the service life of the entire system.
Flexible Installation
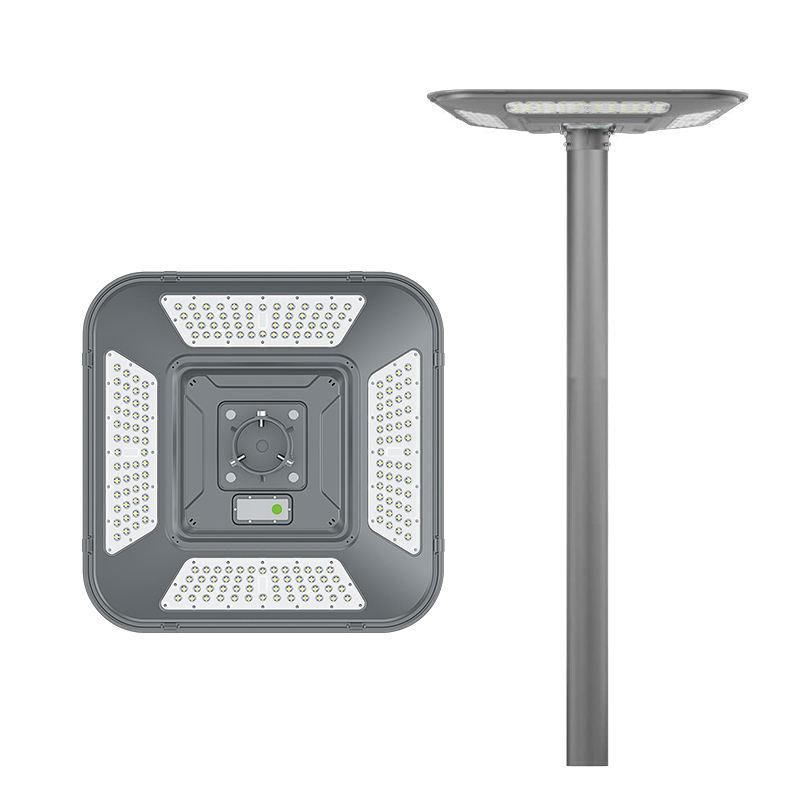
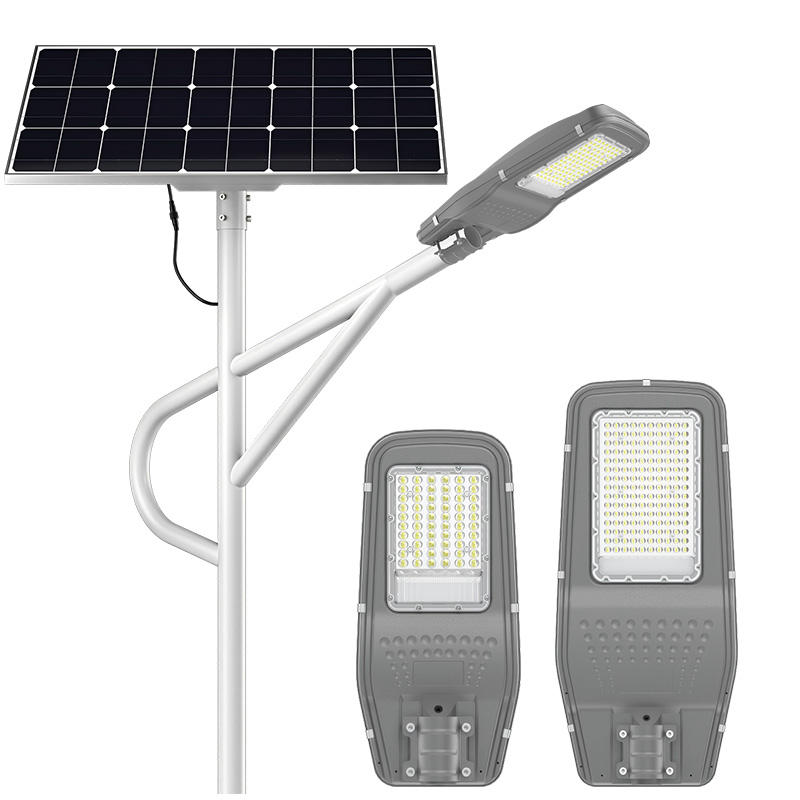
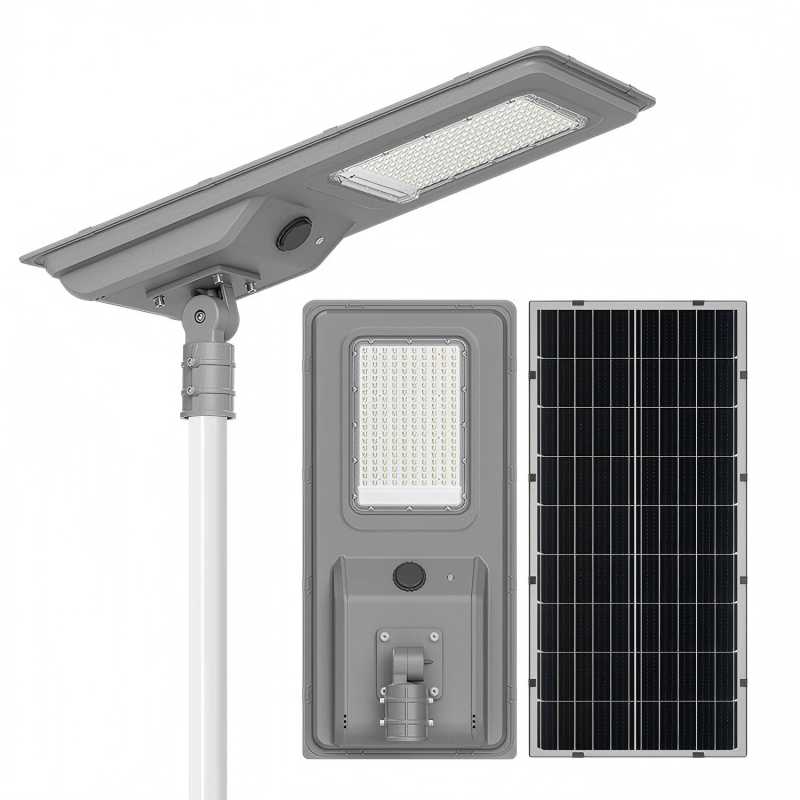
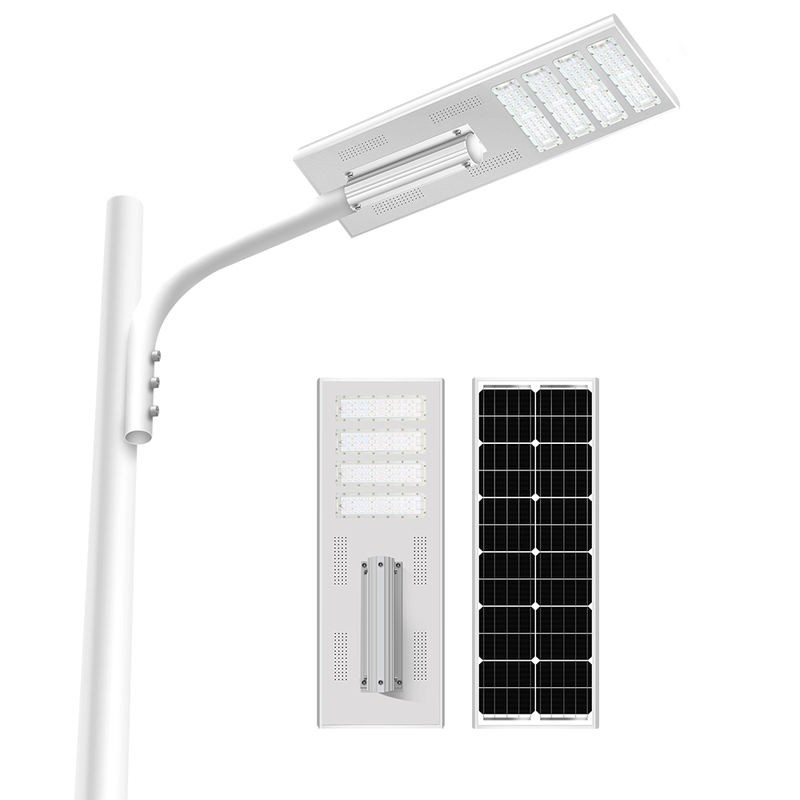
Integrated "plug-and-play" design, no complicated wiring required; 0-180° adjustable bracket, supporting vertical and horizontal installation methods, adapting to different lighting angle requirements, high installation efficiency, and reducing construction costs.
Uniform Lighting
Using PVVC optical lens with light transmittance up to 98%, reducing lighting dark areas, the light is soft and uniform, suitable for large-area lighting scenarios such as roads and parking lots.


| Dimensions | L600*W300*H85MM | L600*W300*H85MM | L600*W300*H85MM | L600*W300*H85MM |
| Power | 40W | 80W | 100W | 150W |
| Recommended Installation Height | 5-6M | 6-7M | 7-8M | 8-9M |
| Luminous Flux | 4400LM | 6600LM | 11000LM | 13200LM |
| Color Temperature | 3000K – 6500K | |||
| Light Distribution | Type II, Type III | |||
| Input Voltage | DC12/24V | |||
| Mono Solar Panel Power | 70W | 90W | 140W | 150W |
| LiFePO4 Battery Capacity | 320Wh | 384Wh | 640Wh | 768Wh |
| Solar Controller | 10A – 20A | |||
| Control Mode | Motion Sensor, PIR Sensor, Timer Dimming, Daylight Sensor | |||
| Installation Type | Rear / Side Entry | |||
| Lamp Material | Galvanized Iron | |||
| Operating Temperature | -20 – 65°C | |||
| Protection Grade | IP66 / IK09 | |||
| Wind Resistance | > 120 km/h | |||
| Service Life | > 10 Years | |||
| Service Life | 4-5 Nights | |||


Step 1: Pole Installation
Fix the lamp pole vertically on the pre-made concrete foundation, tighten the foundation bolts and keep the pole straight.
Step 2: Solar Panel Mounting
Install the solar panel on the top of the pole, adjust the angle facing the sun for best charging efficiency, then fix the bracket tightly.
Step 3: Lamp Head Installation
Mount the LED lamp head on the middle or lower position of the pole, adjust the lighting angle toward the road surface and lock firmly.

Step 4:Battery Box Fixing
Install the waterproof battery box on the inner or back side of the lamp pole, avoid direct rain exposure.
Step 5: Wiring Connection
Connect the solar panel wire, lamp head wire and battery box wire according to the positive and negative marks. Do not connect wrongly.
Step 6: Testing & Commissioning
Cover the solar panel to simulate night, the lamp will light up automatically. Expose to sunlight, the light will turn off normally. Installation completed.
Important Notes:
Solar panel must face south in northern hemisphere.
Keep no shelter such as trees and buildings above solar panel.
All wiring joints should be waterproof wrapped.
Do not disassemble the battery box privately.
HRLUXSOLAR focuses on mid-to-high-end outdoor lighting with strict quality standards and a rigorous, responsible team. We take quality as the core and professionalism as the foundation to provide stable and durable outdoor lighting products.We specialize in professional services for municipal and commercial engineering projects, delivering customized lighting solutions for smooth project implementation. We support flexible customization, efficient delivery and full-process technical support to meet diverse project demands.Committed to being your trusted outdoor lighting partner, HRLUXSOLAR keeps improving to create better lighting value for your projects.
Need a Dialux simulation for your project? Click here for a free lighting plan.
Get a Quote
Scan to Wechat/Whatsapp :